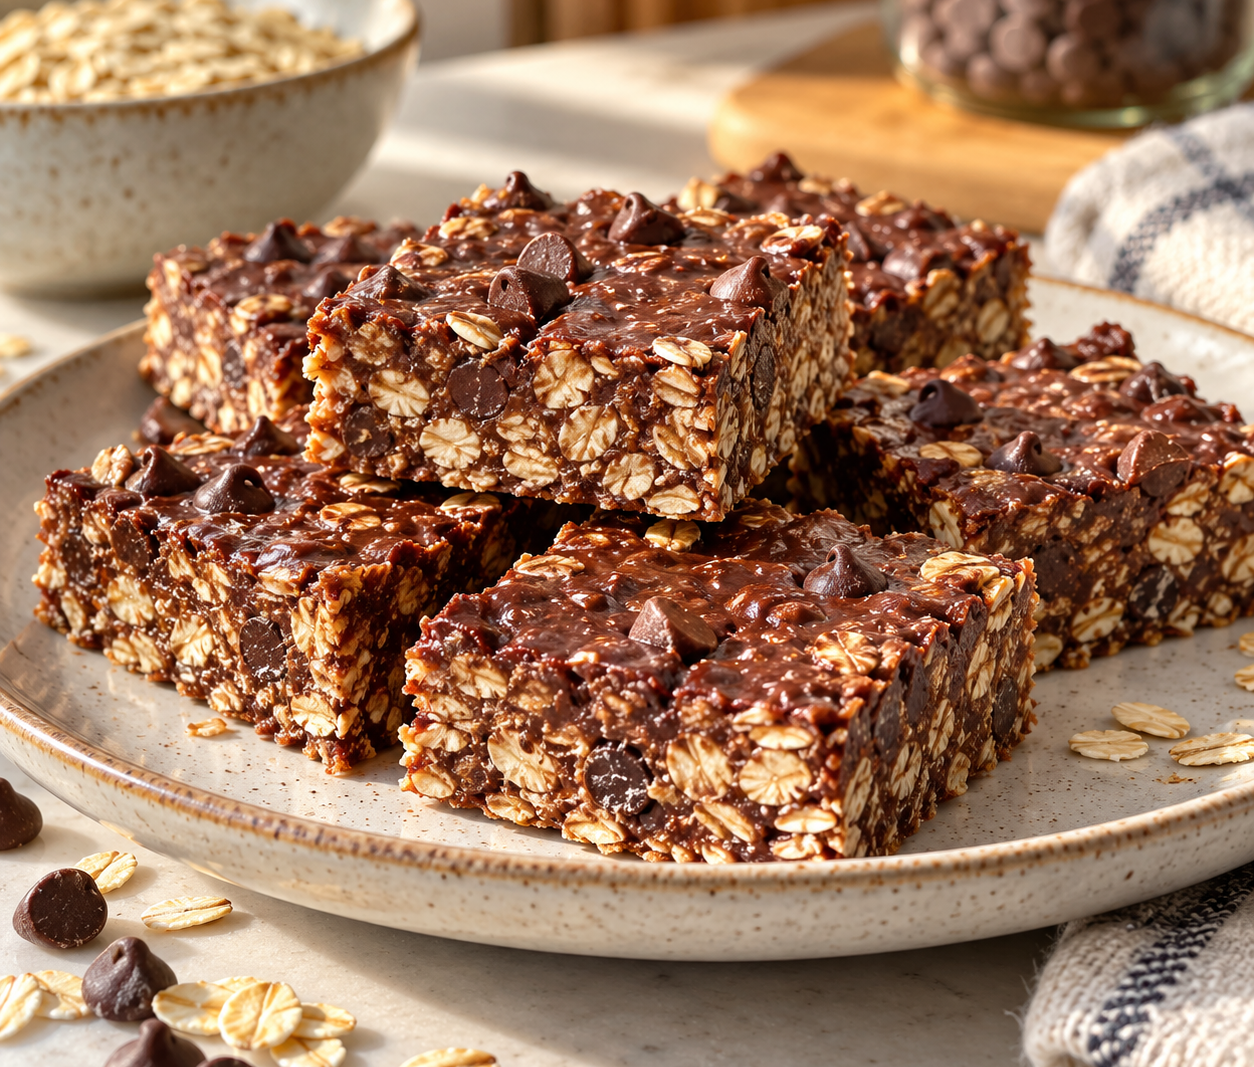
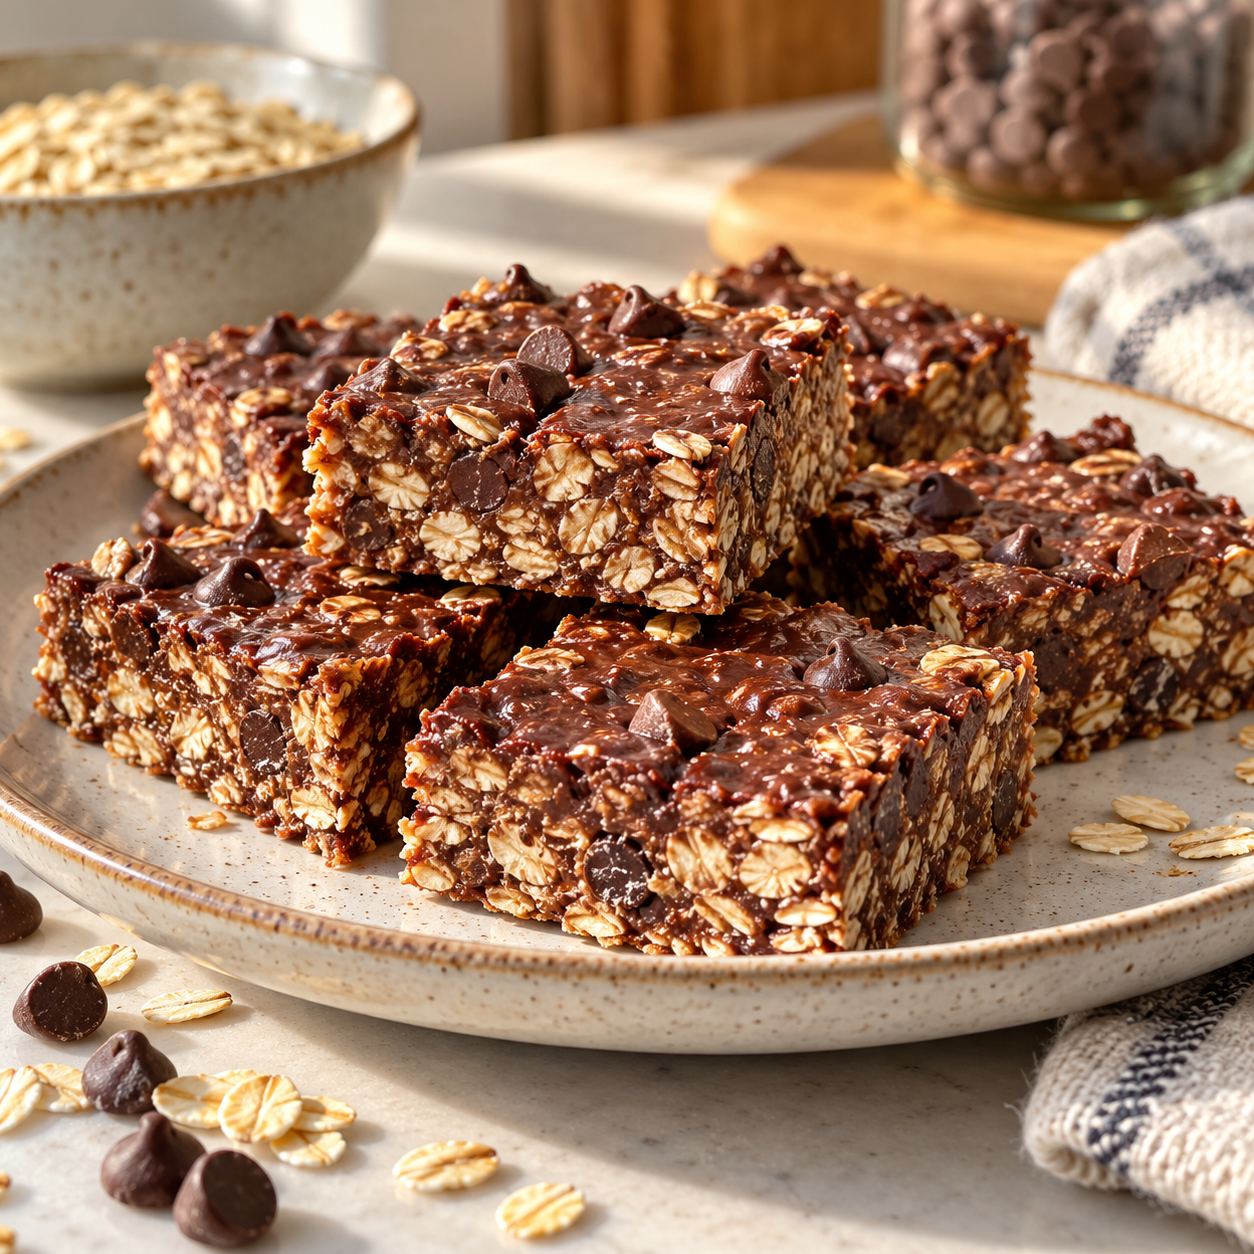
A movie-night dessert board can be as simple as a plate of chocolate oat bars and a few small extras. The goal is to make snacks easy to reach while keeping the setup relaxed and manageable. You do not need a specialty board or a long shopping list; a clean platter, baking sheet, or large plate works just as well.
Choose the size before choosing the snacks
Think about how many people are watching and whether the board is the only dessert. For two people, a small plate with a few cut pieces may be plenty. For a group, use a larger tray and keep extra portions in the kitchen so you can refill it if needed. Leaving a little open space makes the food easier to pick up and keeps crumbs from spreading across a crowded table.
Place the board where everyone can reach it without leaning across candles, drinks, or the television remote. Use a stable, flat surface and keep hot drinks separate from the snack area. If you are serving children, check that the tray and small picks are appropriate for their ages.
Build around one main treat
Start with one central dessert, such as brownies, cookies, fruit, or chocolate oat bars. Cut larger items into small portions that are easy to eat while seated. If you are using our easy no-bake chocolate oat bar recipe, chill the bars ahead and place them on a small plate or parchment-lined section of the board.
Add only a few supporting foods. A useful combination might include:
- Something fresh: grapes, berries, apple slices, or another fruit your group enjoys.
- Something crisp: pretzels, crackers, or plain biscuits.
- Something soft: marshmallows, dried fruit, or small cake pieces.
- A small extra: chocolate chips, a few wrapped sweets, or a dip served in a separate bowl.
You do not need every category. Choose foods that suit the people watching and what you already have at home. A smaller board is easier to serve and clean up than a crowded spread.
Arrange it in a few simple steps
- Set out the larger items first. Place bowls for dips, fruit, or loose toppings on the board before adding smaller snacks.
- Add the main dessert. Keep portions together so guests can see what is available and take one easily.
- Fill only a few gaps. Use the crisp or fresh snacks to balance the layout without hiding the main treat.
- Put serving utensils nearby. Small tongs or a spoon help guests serve themselves without touching shared food.
- Keep refills in reserve. Leave packaged or extra portions in the kitchen rather than piling everything onto the board.
Use small bowls to keep sticky items contained. If the board is wood, place foods on parchment or a plate where needed, and follow the care instructions for the surface. Toothpicks are optional; if you use them, make them easy to see and collect them safely afterward.
Make the board work for different preferences
Before shopping, ask guests about allergies and dietary needs. Keep foods with common allergens in their packages until you are ready to serve, read labels, and avoid guessing whether a product is safe. If someone has a serious allergy, ask what precautions they need and use clean utensils and surfaces. Separate options do not guarantee that cross-contact has been prevented.
For a simpler menu, choose a few clearly labeled packaged snacks and fresh fruit. For a dairy-free or gluten-free guest, select products whose labels match their needs rather than relying on visual appearance. If there are children or guests who prefer less-sweet snacks, include fruit or plain crackers alongside dessert.
Prep and store food safely
Wash produce under clean running water and prepare it with clean hands and utensils. Keep perishable items chilled until serving, and avoid leaving them out for long periods. FoodSafety.gov advises refrigerating perishable foods within two hours, or within one hour when the temperature is above 90°F (32°C). Follow package directions for storage and discard food that has been left out beyond safe limits.
For a low-effort setup, assemble nonperishable snacks shortly before the movie and add chilled fruit or desserts just before serving. Put leftovers away promptly in covered containers, and keep different foods separate if that is needed for allergy safety.
Frequently asked questions
What should I put on a movie-night dessert board?
Choose one main dessert and two or three small additions, such as fruit, pretzels, biscuits, or wrapped sweets. Pick items that match your group’s preferences and make them easy to reach.
How much dessert should I prepare?
It depends on the number of guests and whether other snacks are being served. Start with modest portions and keep extra food nearby for refills, rather than crowding the board.
Do I need a wooden charcuterie board?
No. A clean platter, tray, baking sheet, or large plate can work. Use parchment or small bowls as needed to protect the surface and contain sticky foods.
How can I make a dessert board allergy-aware?
Ask guests about allergies first, check ingredient labels, and use clean surfaces and separate utensils. For a serious allergy, follow the affected person’s specific safety advice; a label or separate area alone may not prevent cross-contact.
Source
- FoodSafety.gov, 4 Steps to Food Safety